

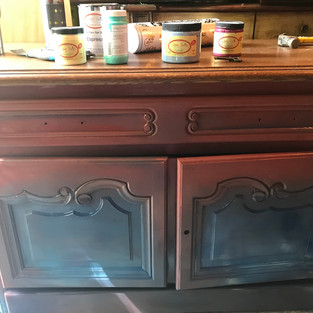
Sometimes a image gets stuck in your head and you can't get rid of it until you have painted it away. I had picked up a large 1970's style buffet from the auction and had a client want to claim it for her own. She has purchased items from me before and was very free thinking in her design. She loves reds, and Mediterranean décor. She basically let me have free reign of design but defiantly wanted red and gold. I sent her some great inspiration photos from Pinterest and this is what she chose. A gorgeous courtyard, faded blues, reds, pink and gold.

I decided to use a gold transfer to add some shine and detail. I purchased my transfer on Amazon here. I gathered my supplies and removed hardware from the piece.

I cleaned the buffet using Dixie Belle's White Lightening cleaner. I gave the wood a light sand to give the paint something to adhere to.
Colors and Products Used
-Transfer Prima Marketing Gold Transfer

Staining doesn't have to be hard work. No Pain Gel Stain by Dixie Belle is a wipe on stain. To apply I lightly sand in the direction of the wood grain to remove any small knicks and bumps. I then clean well. After cleaning use gloves and a old t shirt like rag to apply the stain. The consistency is like a pudding and it goes on thick. Wipe it smooth in the direction of the wood grain so you can see the natural wood below. Wait till it's dry before applying a second coat of gel stain. You can build the color up to the thickness you like. I kept it to one coat to see the grain of the wood through it. After it fully dried, 24 hours. I applied the top coat to seal. I like to use Gator Hide to seal the finish, providing a strong top coat with a bit of sheen.
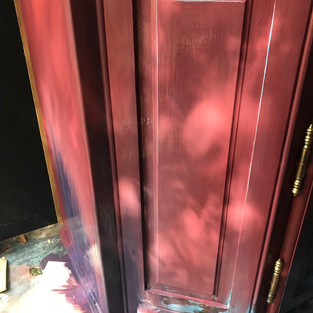
I started the base of the buffet with red, I like to lay down the base colors in the pattern that they will be blended into. The top was red, then moved into pink, and blue. I lightened up the red with some white Fluff to mimic the faded color of the courtyard in the inspiration photo.
Once the base coat of paint has dried its time to blend them together. I like to use a mister spray bottle with water to help the blending and achieve the drippy paint look. While the paint is still wet, use separate brushes to pull the colors together. Mist and blend to the desired effect you like.
When the paint has dried I wanted to age it up a bit. I use a metal spatula to drag paint down the buffet. By using a spatula it lets the paint be a focal accent point where a natural patina would be on a piece. Use your artist eye to add a pop of color to the paint. I like to scrape in one direction and sometimes even mist with water to create drips and runs.

I used a transfer to add some shiny gold details to the buffet. Prima Marketing Gold Transfer is a easy to apply transfer for furniture. I can get multiple uses out of one piece of paper. I cut out the shapes I likes and placed them temporarily with blue painters tape to see where they would go. After deciding placement I applied the transfer to the buffet. They are scraped on with a plastic like tool. Adding great shine and detail to a colorful piece.

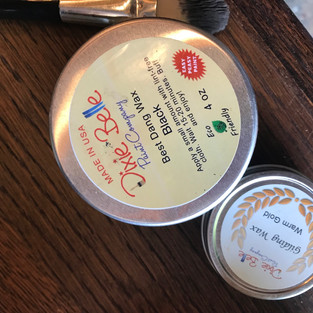
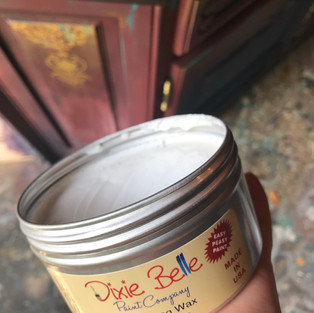
When the transfers and paint have been applied its time to seal the base. I like to use Dixie Belle Clear Wax. I applied the wax with a soft wax brush and buffed with a clean dry cloth. Using clear wax first allows you to place a darker black wax on top and still have it be a bit moveable to achieve the desired effect. I like to apply black wax in the grooves and age the color up a bit. I also used Gilding wax in Warm Gold. I apply with a small brush and then buff with a cloth to add shine and highlights. This works best on the raised details and trim.
I used gold spray paint to change the color of the hardware. They were brassy in color and I wanted them to sparkle and shine. Clean them well and spray paint in your choice of color. After they have dried, install back onto the buffet.

I brought the piece inside to stage and take photos. The client was over the moon happy with the final result and it now resides proudly in front hallway. A beautiful update with Dixie Belle paint and products, and will be enjoyed for years to come.

Love this? Want to see more highlights on this makeover? Follow me on Instagram, and see my highlight here!
Want to see a video tutorial on this project? Click here!








Comments